top of page
A happy, healthy kitchen scene with a grocery brown bag of fruits and vegetables and_pantr

The Essential Guide to Gluten Free Living

“Tired of the guesswork? Discover what gluten-free really means and how to eat well—grab your free guide and start living better today!”

Recipes, Tips and Other Info

  • Writer: Moy's Gluten Free Kitchen
    Moy's Gluten Free Kitchen
  • Dec 30, 2019
  • 1 min read

Updated: Aug 1, 2021

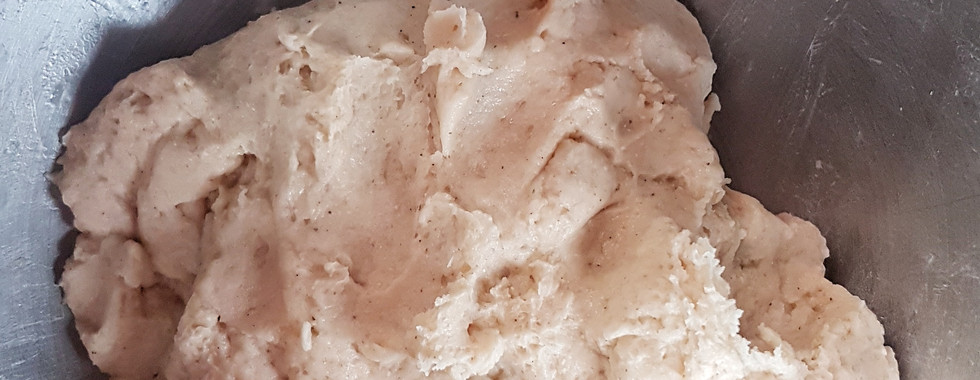
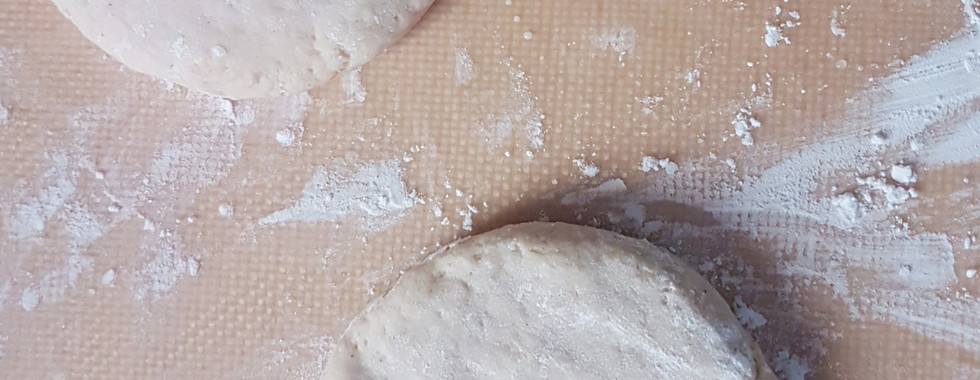
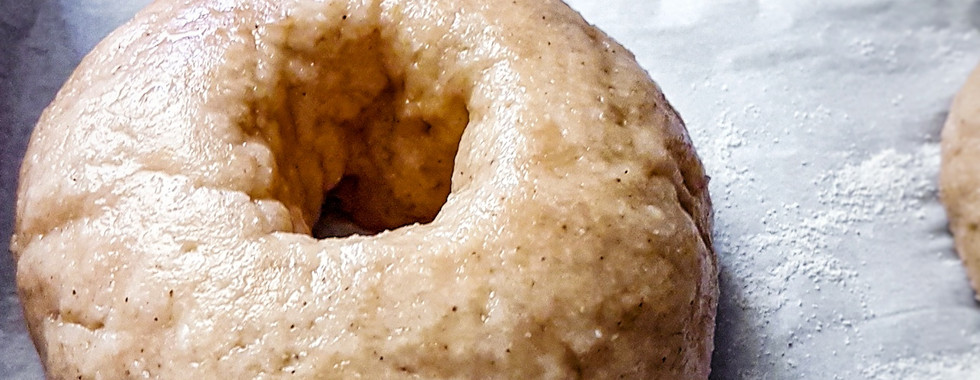
To make these donuts follow my recipe for regular Chocolate Blender Donuts with the following changes to the ingredients:


........use only 1/2 tbsp cocoa powder ........omit the coffee ........increase the vanilla extract to 2 tsp ........add red gel color (to your preference)


Red Velvet Donuts
Gluten Free, Vegan Red Velvet Donuts


  • Writer: Moy's Gluten Free Kitchen
    Moy's Gluten Free Kitchen
  • Dec 30, 2019
  • 2 min read

Red Velvet Chocolate Chip Cookies
Gluten Free & Vegan Red Velvet Chocolate Chip Cookies
Gluten Free, Vegan Red Velvet Chocolate Chip Cookies with a Peppermint Glaze
Red Velvet Chocolate Chip Cookies with a Peppermint Glaze

Ingredients

(makes 10 – 12 cookies)

½ cup brown rice flour

¼ cup almond flour

¼ cup potato starch

¼ tsp xanthan gum

½ tsp baking powder

½ tsp baking soda

¼ tsp salt

1 tbsp natural unsweetened cocoa powder*

3 tbsp brown sugar

1 tbsp white sugar

¼ tsp molasses (optional)

1 tbsp coconut oil

½ cup coconut milk

1 tsp vanilla extract

1 or 2 drops of red coloring

1 oz chocolate chips Notes


You can use a pre-packaged gluten free flour blend to replace the brown rice flour, almond flour and the potato starch. Omit the xanthan gum if already in your mix

I sometimes add 1tsp extra of cocoa powder for a stronger chocolate flavor

Directions


Line a baking sheet with parchment paper

In a mixing bowl add the dry ingredients and stir to combine. Leave out the chocolate chips

Add the molasses (if using), mix and spread it throughout the dry ingredients as far as possible. Add ¼ cup of the coconut milk and the rest of the wet ingredients to the flour mixture. By hand, knead or mix until the dough is slightly sticky but holding together. Add the rest of the coconut milk a little at a time if needed. Fold in the chocolate chips

Scoop rounds of the dough (about 2 tablespoons in size or as preferred) onto a parchment lined sheet leaving a space between each round. If you find the dough difficult to handle, chill for about 15 minutes before shaping. You do not need to make smooth balls.

With wet hands flatten into discs. The cookies do not spread much so flatten to your desired thickness.

Chill the tray of cookies in the refrigerator for 20-30 minutes (more if you can, even overnight)

While the tray is in the refrigerator, preheat the oven to 375F

When ready, bake for 8-10 mins until the edges of the cookies are set. The top of the cookie in the center should be set but feel soft if pressed.

Cool on a rack and enjoy! Store in an airtight container on your kitchen counter for up to 5 days, (if your kitchen is hot and humid, store in the refrigerator).


  • Writer: Moy's Gluten Free Kitchen
    Moy's Gluten Free Kitchen
  • Dec 28, 2019
  • 4 min read

Updated: Jan 30

This recipe is reliable and delivers great results every time. For a gluten-free, vegan bagel, the dough is extremely easy to handle. With a golden-brown chewy crust and a soft interior, these bagels offer an authentic experience without gluten. The rise, shape, crust, texture, and color are all beautiful—every baker's dream!


To keep things simple, I used a pre-packaged mix to make these bagels. You can do the same or opt for any high-protein flour blend, whether homemade or store-bought, such as a bread mix, which is preferred over cake or cookie baking mixes.


My easy recipe ensures that you can enjoy the warm, comforting aroma of freshly baked bagels in your kitchen whenever you desire. You can customize them to your liking by adding herbs, seeds, or spices.


Feel free to follow the recipe without the extended resting period if you’d like to enjoy your bagels more quickly.


ree


Dry Ingredients

2¼ gluten free bread mix*

1 tsp xanthan gum (only if not in your bread mix)

2 tsp instant yeast

1 tsp baking powder

1 tbsp egg replacer**

¼ tsp molasses (or less)

2 tbsp vegetable oil

1¼ cup water (more by tablespoon)

more oil for shaping the dough

Tapioca starch and or cornmeal for shaping the bagels

Water Bath

1½ quarts of water

½ tbsp brown sugar

pinch of salt

*I used Bob's Red Mill Homemade Wonderful Bread Mix. Results are impressive!

**I used Bob's Red Mill Egg Replacer primarily because it contains psyllium husk, which strengthens the dough making it easier to handle and shape. To substitute add ½ tsp baking soda and 1 tbsp flaxmeal.

Directions

Combine all of the dry ingredients in your mixing bowl, mix well.


Add the wet ingredients, start with 1 cup of water. Mix on a low speed to combine. Increase the speed and mix until the dough is “smooth”, holding together and slightly sticky. Add more water if needed a little at a time. This should be a soft dough but not “wet” and shaggy as is the norm for gluten free bread dough. Let the dough rest for about 15 mins. At the end of the rest check the dough to make sure that it is properly hydrated, add a little more water if it is too dry. You can continue with the recipe or cover the dough tightly and allow it to rest for a few hours on the counter or overnight in the refrigerator. This improves the texture and creates a more complex flavor.

Line a baking tray with parchment paper, dust with flour or fine cornmeal. Set aside

Create a floured surface with the tapioca starch to shape the bagels. A silpat mat works great here. Pinch off pieces of the dough, enough to fit in the palm of your hand. This recipe makes about 6 bagels, you can use this as a guide to average the size of the dough pieces.

In a circular motion, roll the dough with the palm of your hands on the floured surface to form a smooth ball. Working with oiled hands helps. Try to get the dough as smooth as possible without adding too much tapioca starch.

You can place the pieces of dough on the parchment lined tray now or after shaping. Leave at least an inch between the shaped bagels. Flatten the dough to about 2¾ - 3 inches in diameter, try to maintain a domed top as you work (the less you flatten the dough the thicker the bagel and the more it will appear domed). The finished bagel will be about 3 ½ inches.

Create a hole in the center of the bagel with your finger. In a circular motion widen to about ¾ to 1 inch in diameter. Set the tray of bagels aside for about 10 minutes in a warm area of your kitchen to proof. The 10 minutes can include the time it takes to setup the water bath. I do not cover the bagels. If necessary, I will spritz the tops lightly with water to keep the bagels from drying out.

Preheat your oven to 425 degrees (F)

Prepare the water bath, you want enough depth in your pot to fully immerse the bagels. Dissolve the sugar and sait in the water. Bring the mixture to a boil on medium to high heat. The bagels should have visibly “puffed up” a bit by now. If not wait a few more minutes, but do not leave the bagel to double in size or anything close to that. You are looking for somewhere in the vicinity of a 15% - 20% increase in size. You should be able to flip the bagel into the palm of your hand without it falling apart. If it breaks or falls apart simply reshape it.

Starting with the first bagel that you shaped and working with only 1 bagel at a time, place the bagel in the boiling water bath. Cook on each side for 20 seconds. Using a round skimmer slotted spoon, take the bagels out of the water and return it to the parchment lined tray, flat side down.

With a light hand, brush the top of the bagel with oil. Sprinkle on your desired topping (I mixed poppy and sesame seeds). Continue boiling and dressing your bagels, working from the first to the last bagel you shaped (you could boil all of the bagels before dressing)

When finished, place the tray in the oven. Bake for 10 minutes then reduce the heat to 350 degrees (F). Bake for another 5 - 8 minutes, the bagel should be nicely browned by this time. I would sometimes flip the bagel at this point and allow it to brown for about 3 -5 minutes more. The bagels will firm to the touch and sound hollow when tapped if they are fully baked.

Transfer the finished bagels to a wire rack and cool for 15-20 minutes before serving. If you are going to have the bagels about an hour or so later, you can leave the tray of bagels in the oven or a warming drawer on a low keep warm setting.

Wrapped tightly and frozen is the best way to store the bagels.


bottom of page